Activating connections
Once your payee accepts your invitation to connect and shares their banking information with you can then review and activate the connection. Once activated, the connection is added to your list, and you can send payments to them.
You can locate connections that require activation from action items — or from the Connections grid. You can then choose to activate them either individually or in bulk.
To activate connections
- To review the details shared by the payee before you activate the connection, click the
 icon in the menu next to the connection name.
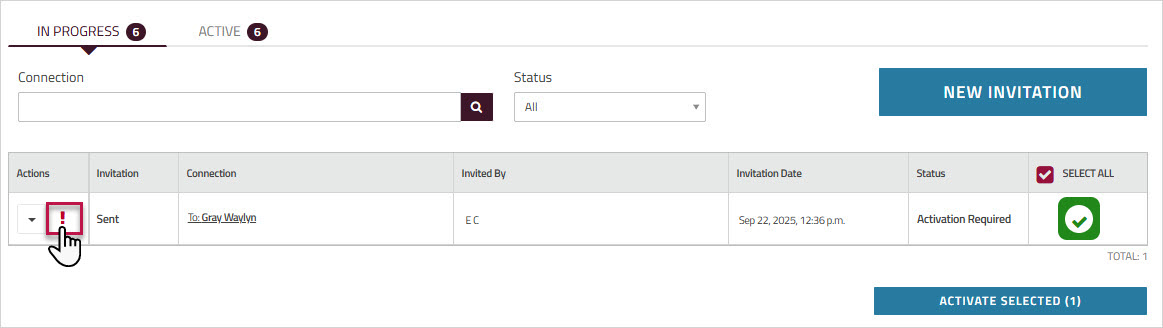
- The connection information is displayed, including the bank account that the payee has shared with you. Click the plus sign to see additional details.
View Connection Details
- In the section, if both iACH/EFT and Wire payment methods are available each will be shown as a separate entry.
- By default, the applied to the payee is auto-generated in the format currency_payeenamenumber. If you have assigned an identifier during mass invite, the assigned identifier will be displayed here. You can update the identifier anytime. Note: This identifier must be unique.
- Click to activate this payee.
You can also activate the payee from the grid.- Activated payees move from the tab to the tab, and are added to your list. You can now send payments to them.
- By default, all the connections that require activation are selected. The option in the table header is selected, and a green checkmark appears next to each of the connections selected for activation.

- To activate a single connection, uncheck and then click the green checkmark next to the connection you want to activate.
- To bulk activate connections, review the list of payees that require activation. To exclude a connection, click the green checkmark next to it to unselect it.
- Click .
- The activated payees move from the tab to the tab, and the payees are added to your list. You can now send payments to them.
Important: If a connection has shared more than one bank account with you, in the list, you will see a separate entry for each bank account.